Eyeshadow for beginners comes down to three looks, each built from just two shades: a soft wash for everyday, a crease definition look for dimension, and a smoky line for evening. Two shades per look means six colors total cover the whole system, and none of them require blending skill beyond moving a brush back and forth. The FDA regulates eye cosmetics for safety and advises that anything applied near the eye should be kept clean and never shared, which is worth knowing before you start borrowing a friend's palette (FDA, 2026).
What do you need before the three looks?
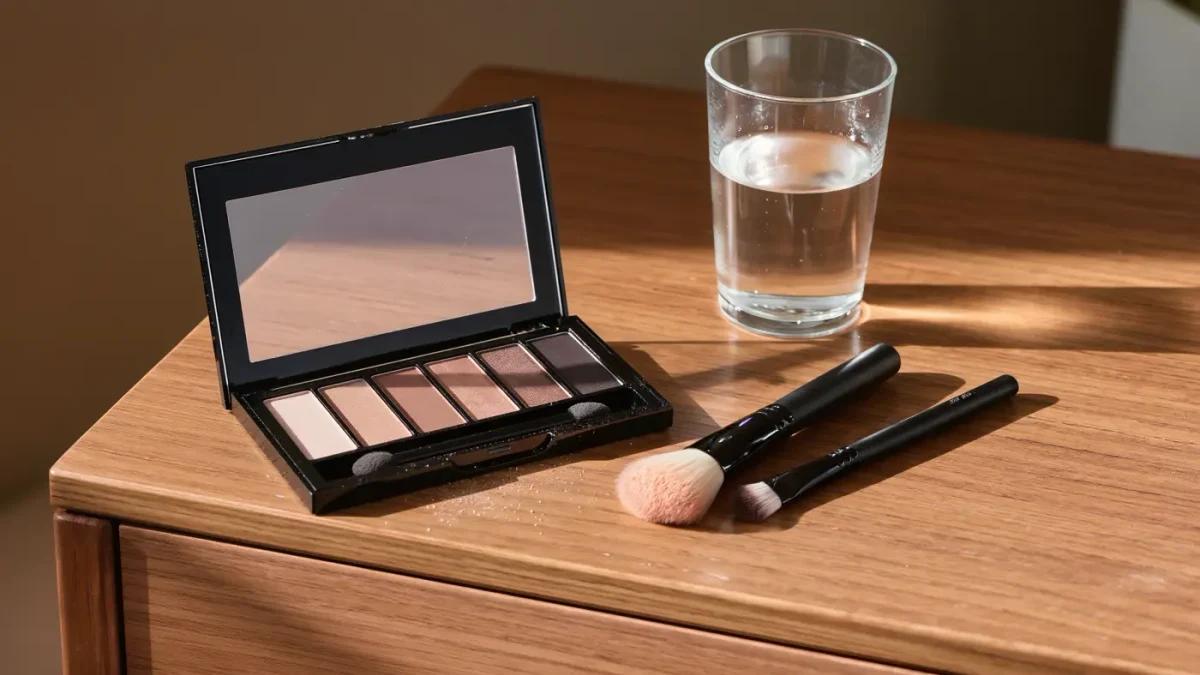
An eyeshadow palette with at least one light neutral shade and one deeper neutral shade in the same family, a flat shader brush, and a fluffy blending brush. If you own only a single palette, pick the second-lightest shade as your light and the second-deepest as your deep; extremes are harder for beginners to control. An eyeshadow primer or a dab of concealer helps the shadow hold if your lids are oily, but it is optional on dry lids. Total cost can stay under one palette plus two brushes.
Look 1: The soft wash (3 minutes)
- Pick up a small amount of the light shade on your flat brush and tap off the excess.
- Sweep it over the entire eyelid, from the lash line up to just above the crease, in back-and-forth motions.
- Check both eyes from the front; the wash should read as an even, slightly deepened lid, not a visible layer of color.
This is the look to master first. A wash evens out lid tone and makes eyes look more awake without announcing itself as makeup. It suits work, video calls, and anyone who wants definition with zero risk of harsh lines. When to skip it: if your lids already match your surrounding skin evenly, the wash adds little and you can go straight to look two.
Look 2: Crease definition (4 minutes)
- Apply the light shade all over the lid as in look one.
- With the fluffy brush, pick up the deeper shade and tap off excess.
- Place the deep shade only in the crease and outer corner, moving the brush in small windshield-wiper arcs from the outer third of the eye inward.
- Blend until you cannot find the edge between the two shades; the transition should take about twenty seconds of light, low-pressure strokes.
The crease look adds dimension: eyes read deeper-set and more defined without any dark color near the lash line. It is the right default for photos and for anyone whose lids disappear when their eyes are open. Use roughly a third of the deep shade you think you need first; you can always add, but removing means starting over.
Look 3: The smoky line (5 minutes)
- Apply the light shade on the lid and the deep shade in the crease as before.
- With the flat brush pressed nearly sideways, pick up the deep shade and press it along the outer half of the upper lash line, keeping the line thinnest at the middle of the eye.
- Soften the line upward with the fluffy brush so it smokes out rather than stays a hard edge.
- Optional: a light run of the same deep shade along the outer third of the lower lash line to connect the shape.
This look replaces eyeliner entirely and is more forgiving, because shadow smudges gracefully where a pencil line shows every wobble. It suits evenings and photographs well. If the result looks too heavy, blend more; smokiness is corrected with a brush, not by removing.
Which shade families should a beginner buy?
| Family | Best known for | Watch out for |
|---|---|---|
| Warm brown and bronze | The most universal starter family; suits most eye colors | Very warm oranges can emphasize redness |
| Taupe and gray-brown | Natural shadows that read as depth, not color | Can look flat on very warm skin tones |
| Burgundy and plum | Brightening the look of green and brown eyes | Needs careful blending to avoid bruised look |
One family, one light and one deep shade, is a complete beginner kit. Palettes of thirty colors mostly repeat the same three families with different finishes.
Why does my eyeshadow crease by lunchtime?
Oily lids are the usual reason. The fix is preparation, not more product: cleanse the lids, apply a thin eyeshadow primer or a fine layer of concealer set with powder, and keep formulas matte or satin rather than shimmery in the crease. Shimmer over oil migrates into lines fastest. If creasing persists, pressing shadow with the flat brush instead of sweeping it packs the pigment down and helps it stay.
How do you fix a mistake without starting over?
- Harsh edge: buff it with a clean, dry fluffy brush. Most hard lines disappear in ten seconds.
- Too much color: place a little of the light shade over the area with the flat brush to dilute it.
- Fallout under the eyes: wait for it to settle, then sweep it away with a fluffy brush or a cotton swab before doing base makeup, or do eye makeup first and base second.
FAQ
Do I need a primer for eyeshadow?
If your lids are dry and your shadow lasts the day, no. If shadow fades or creases within hours, a primer or concealer set with powder makes the largest difference. The layer should be almost invisible; a thick layer creases worse than none.
Mattes or shimmers for beginners?
Mattes, at first. They blend more predictably and show mistakes less. Once crease work feels comfortable, shimmer on the center of the lid is a one-step upgrade that changes the whole look.
How many brushes do I actually need?
Two: a flat shader to place color and a fluffy blender to soften edges. See our guide to the minimal brush kit for the full list across all makeup steps.
Is old eyeshadow safe to use?
Powder shadows last a long time, commonly 12 to 24 months after opening, but discard them if the texture changes or they irritate your eyes. The FDA advises discarding any eye cosmetic that changes in smell, color, or texture and never using eye products after an eye infection.